6 Handy Tips for Better Smart-Phone Landscape Photos
Every now and then someone will comment to me that they would love to buy a ‘good’ camera to take some landscape photos. A lot of the same people carry around a powerful camera in their pocket in the form of a smart-phone and with a little knowledge (and practice) could capture the images they think they need a dSLR for.
I decided to put together a post with some tips and examples to help you guys up your mobile photography game and show you that you don’t need thousands of euro worth of gear to capture great images. All the photographs in this post were taken with my banged up Samsung Galaxy S7 phone or older in and around Sligo, Ireland.
I call these steps ‘easy’ because they are easy but only if you’re willing to follow them and repeat them, as like anything in life “practice makes (closer to) perfect”.
1. Change up your Perspective
If you go to any popular landmark and watch people taking photos you’ll notice most people will just go to the most obvious spot and hold up their phone in front of their face and snap away. The vast majority of these people will have the same boring photos, same perspective and I’ve always found that watching others was a great way to find a unique shot, don’t do what they are doing and look around the environment. Try different perspectives, get low, get high ;), shoot through a gap that frames your point of interest, move closer and move back.
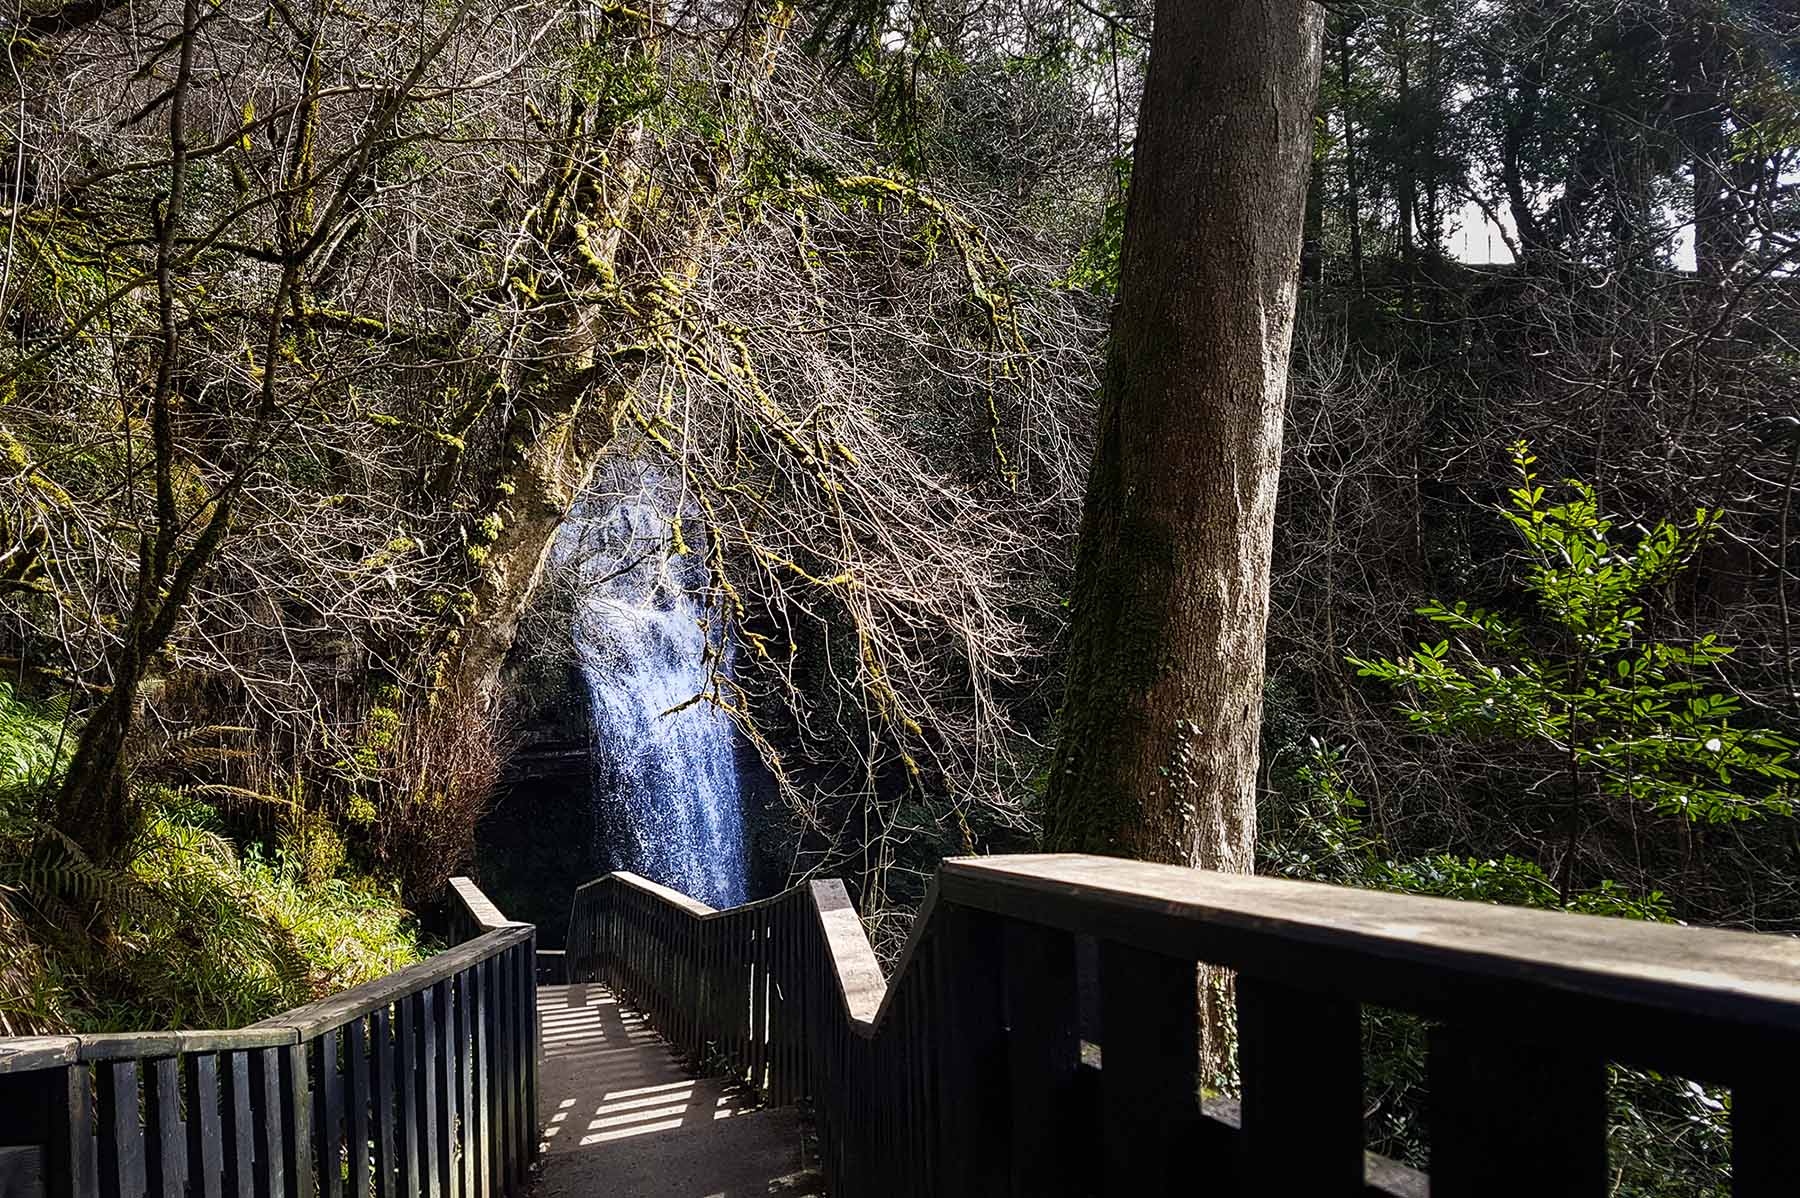
The photo to the right was taken on a relatively busy bank holiday morning at Glencar Waterfall, I watched tourist stream up the front walkway of the waterfall, each taking the exact same photo. Instead of settling for the usual photo like the tourists, I decided to walk past the waterfall and turn back to frame the falls with the walkway and trees. Since the groups were all at the usual landing area snapping photos I got a nice clear view and a more interesting photo. The more you play with perspective the better you’ll become at judging situations and how you want to capture your point of interest. Remember to move around!
2. Control your Exposure (as much as possible)
I’ll have a post soon on manual settings and phones but assuming you’ve never used manual, here is a tip to start getting photos exposed better in auto.
With most phones, when you touch on the screen to focus then a little slider will pop up beside the focus point. This is an exposure compensation slider and essentially what it does is allow you to adjust the exposure of the point you focused on. This allows you some control over the exposure of the photo you’re taking and can be a very handy way to get a better shot especially when dealing with a sunset where the camera sees a lot of darkness so it automatically over-exposes the image. See the video below for a quick example of how to use it and see the result compared to the auto photo (Apologies for my voice, I was sick when I recorded this but it was the only opportunity I got).
3. Be Patient

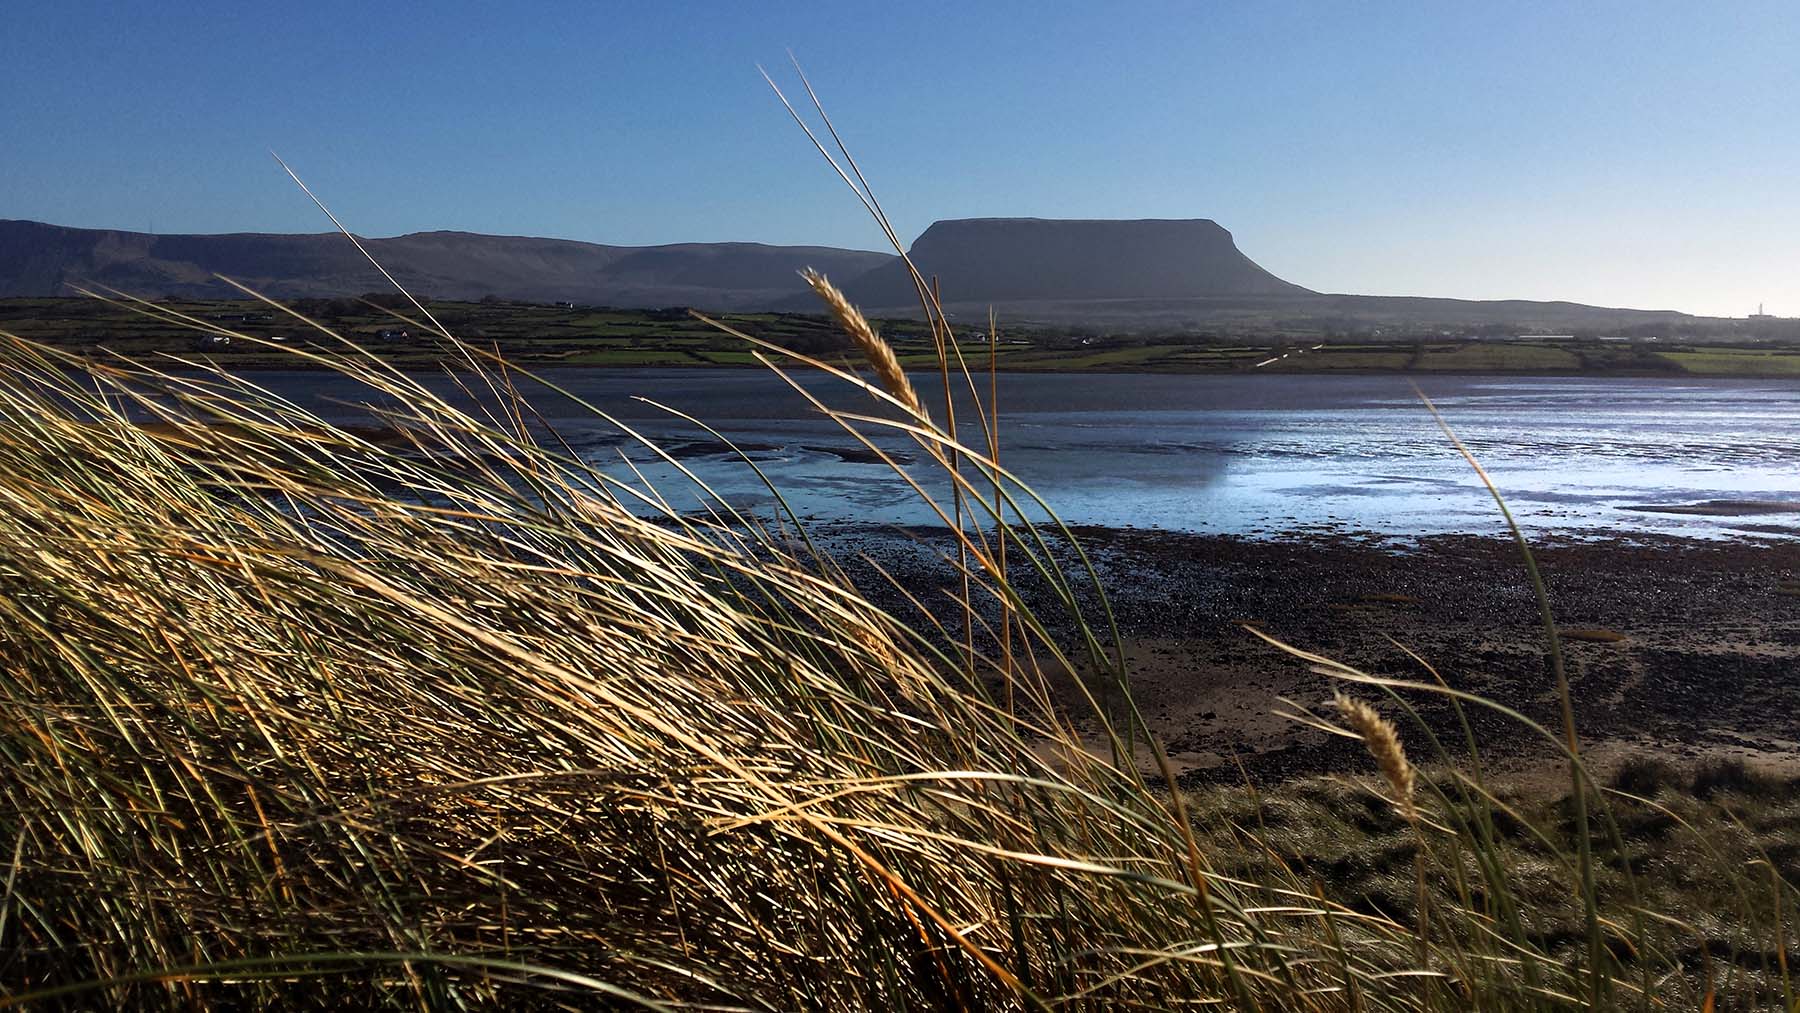
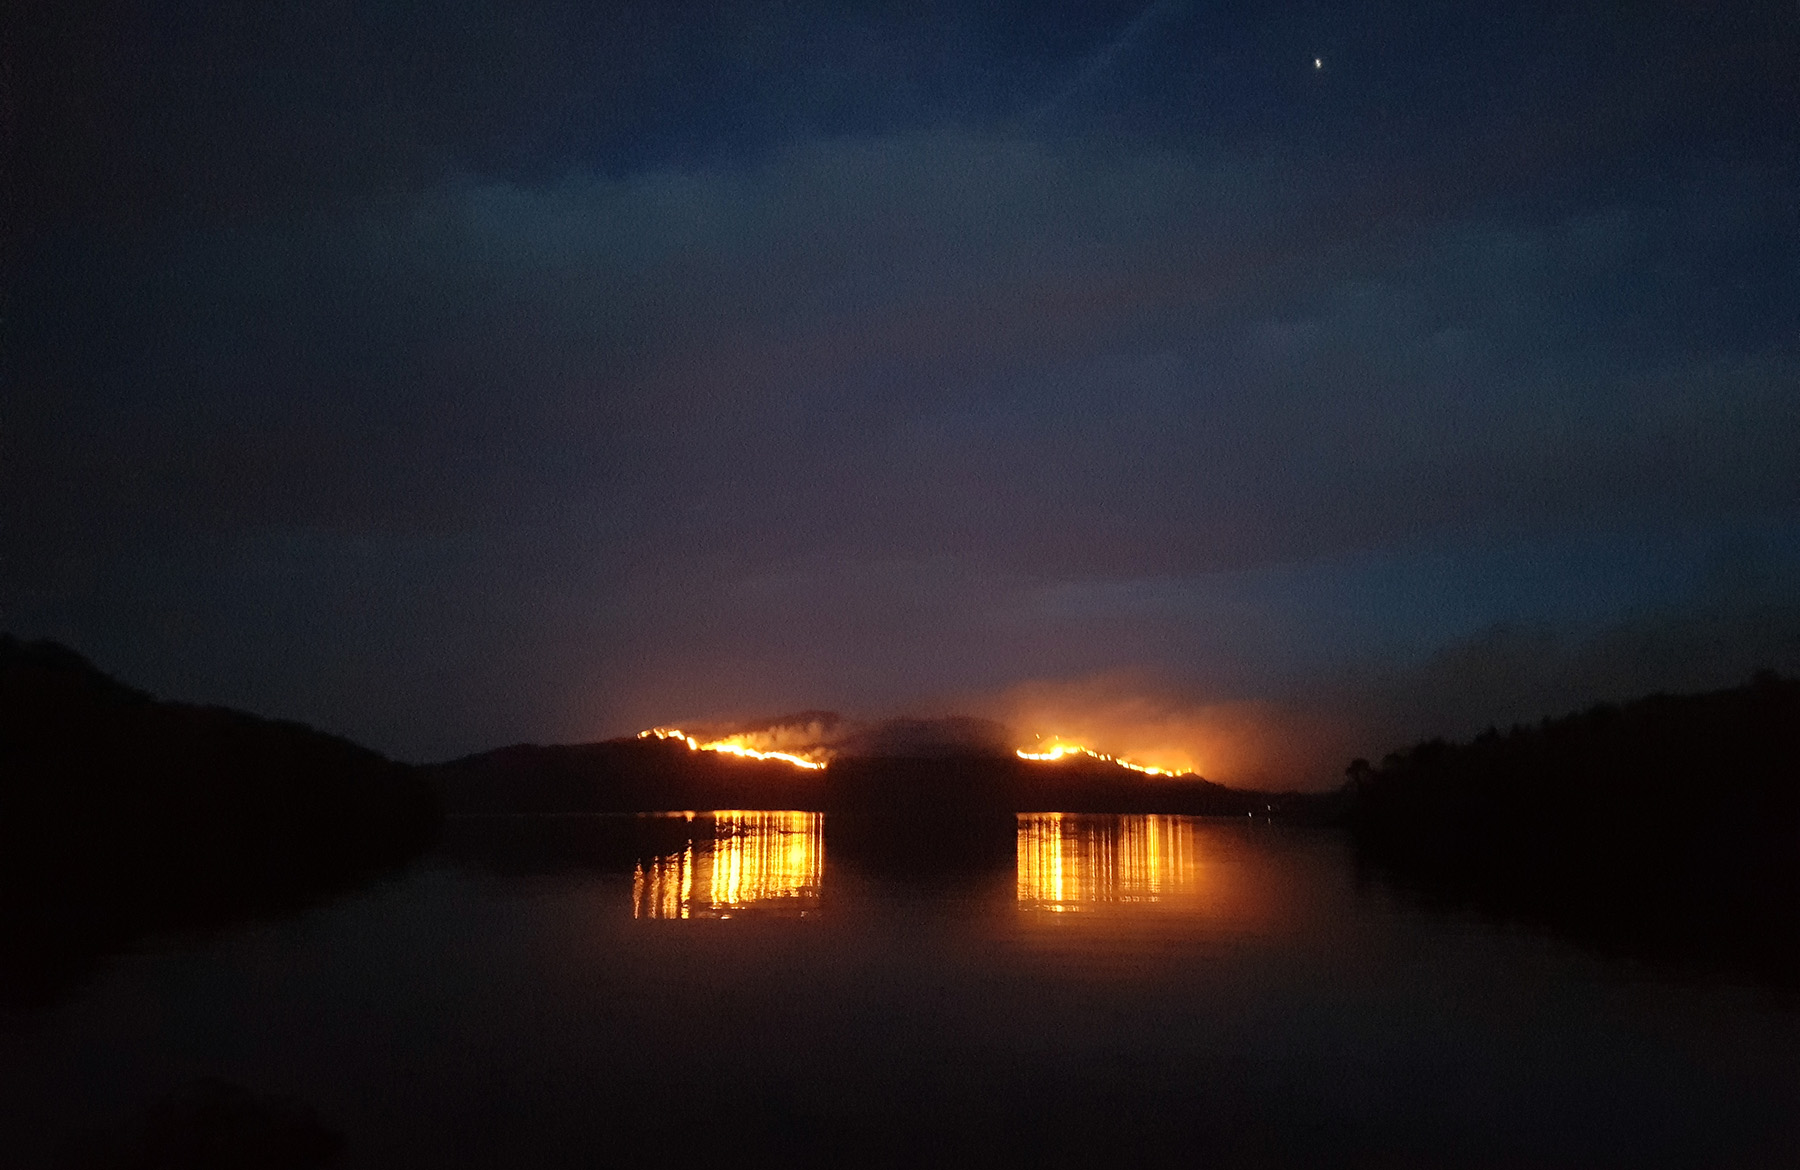
This goes for both when you’re taking photos and your learning/practice in general. If you live in a fairly cloudy country like Ireland you’ll know that light and weather can change very fast. Be Patient, look around, try and gauge where the light is going and get ready for it to hit your point of interest. Light is pretty much the most important factor in all of this and I’ll have a post dedicated to my favourite light coming up but for now just be aware that light is a constant changing factor.
Even without your camera just look at how light moves, angles and changes throughout the day. Photographers love sunset/sunrise because a low angled sun will not only gives lovely colourful light and but also dramatic lighting on mountains and landscapes. Don’t just rush a photo, use the steps above and below, take your time and create an image worth keeping.
4. Composition & Rule of Thirds
Composition is so dalm important to creating images and I plan to also delve deeper into it in a future post but for now here’s a short intro. Composition literally means ‘putting together’ and it’s about the placement or arrangement of visual elements in a work of art (or in this case a photograph). There are a few different techniques you can use to improve your compositions like change of perspective 😉 , framing, Rule of Thirds, leading lines etc. We touched on Perspective above and you can combine that with what is possibly the oldest and most trusted compositional technique Rule of Thirds.
Rule of Thirds is simply a grid with two horizontal lines and two vertical lines through an image, you’ll see in the video clips on this post that my phone camera has it on screen all the time to help me compose shots, if yours doesn’t then check your settings and look for ‘Grid’ options (3×3). What I’ll do is place my subject or point of interest on one of the intersecting points or I’ll divide my photo into three layers, foreground middle ground & back ground. Every now and then you’ll mix these together like in the photo here of my dog at the beach.
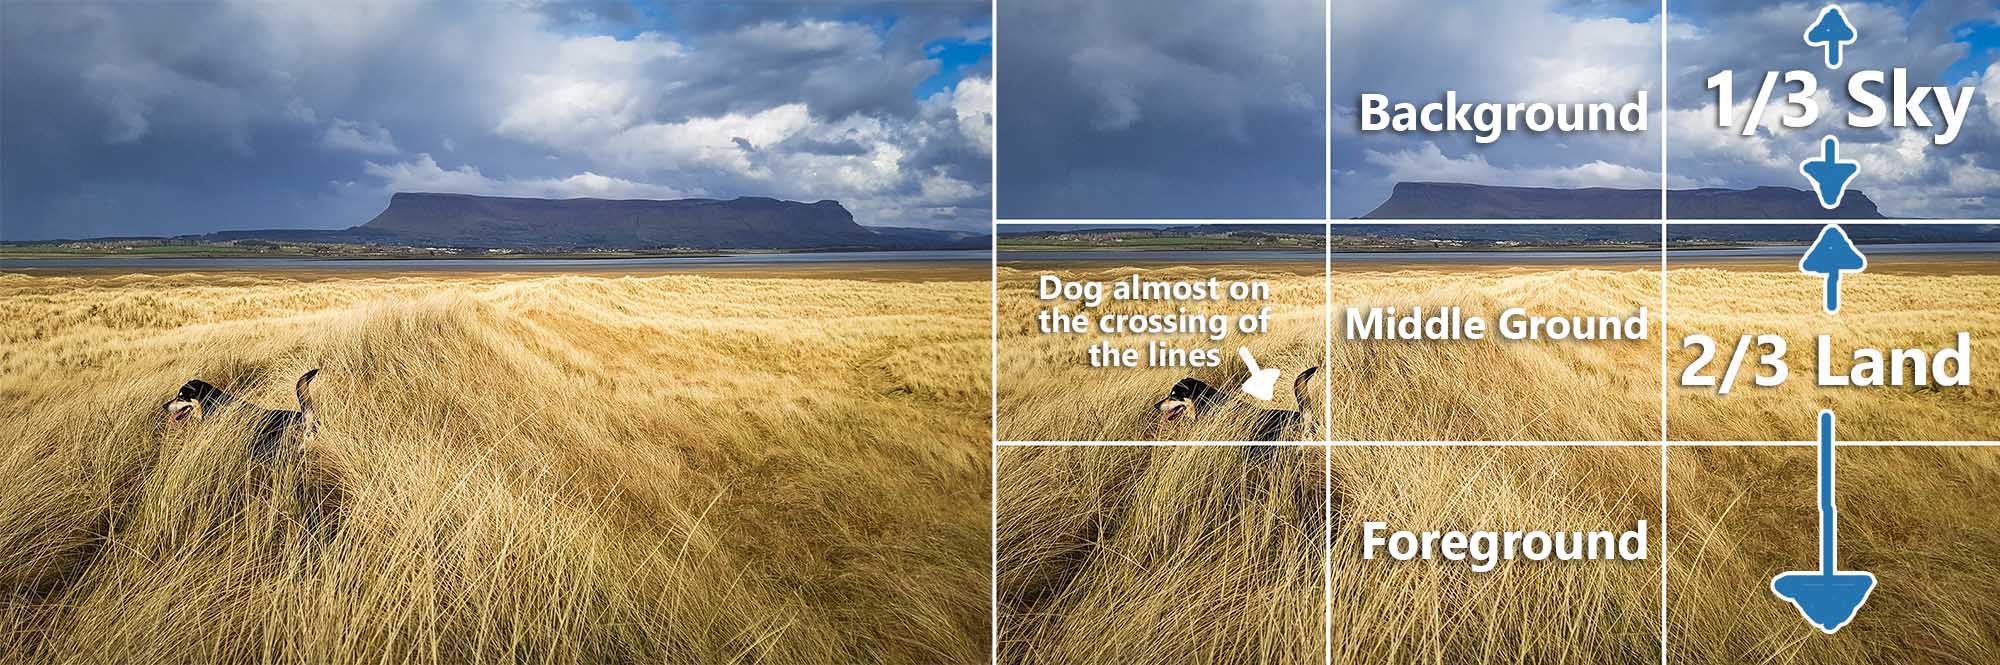
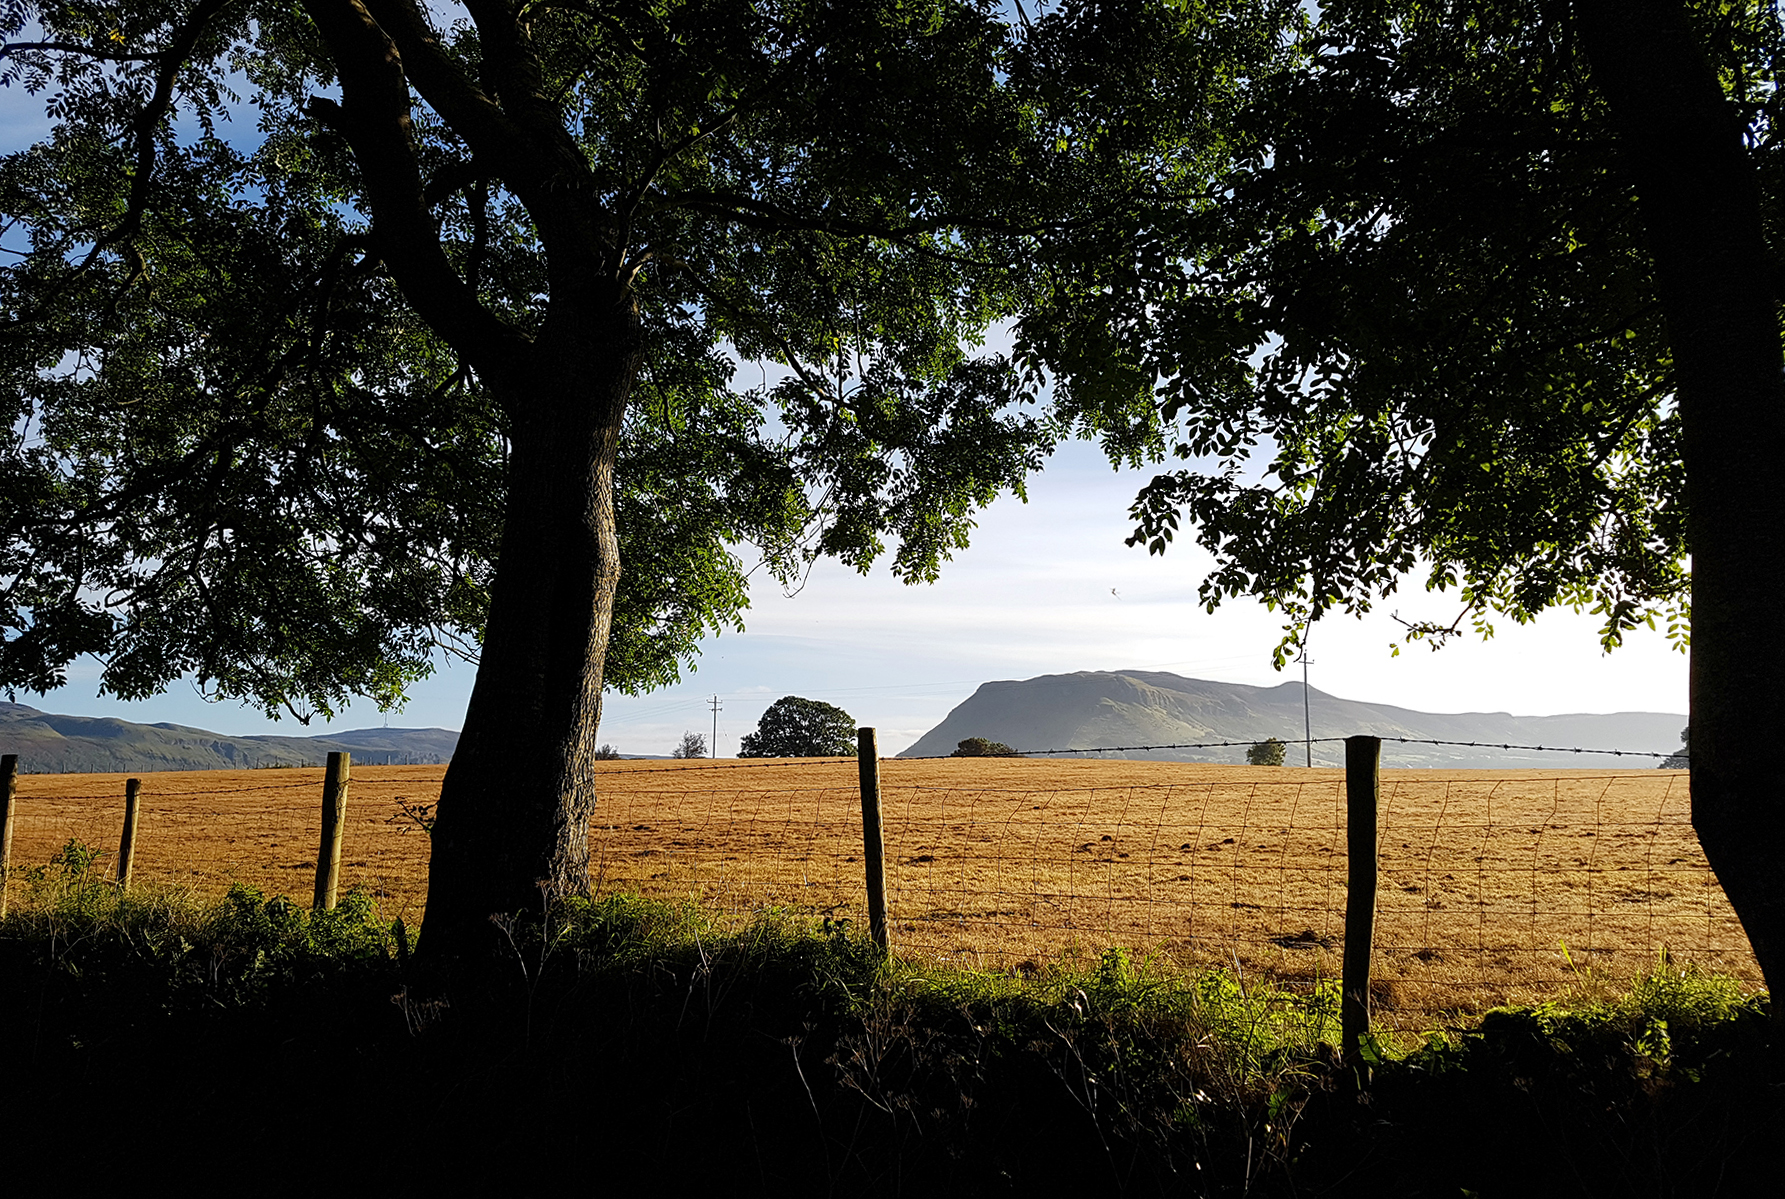
Usually I will give the sky the top third of the photo and the land the bottom two thirds, unless the sky is my point of interest then it’ll get the top and middle thirds with the land on the bottom third. You’ll see in the video below that I managed to frame up the photo of the grassy verge, mountain and sky just before Teto (my dog) wandered into frame and gave me another element. You’ll hear me call her to get her to turn back to me but she doesn’t care, she does her own thing and it works out. Play around with this and like I said combine it with new perspectives to get some nice aesthetically pleasing photos.
5. Take lots of Photos, review and sort them.
This is pretty straight forward, take lots and lots of photos (with plenty of different perspectives and compositions) and if there’s moving elements in your photo make sure to get a few burst fire shots (on some cameras you can hold down the capture button and the camera will burst fire). In the video above you’ll see I fire off three quick shots but it’s the third one that worked, Teto could have gone in any direction so I was snapping each second waiting for her to pose for me.
Now you have lost of photos, too many most likely so at the end of the day look through and keep your best and get rid of the miss-fires and doubles. Sorting your photos will tell you what you like about what you captured and also what to avoid next time in order to get closer to what you were imagining while shooting. At the start you will have loads of images but as your skill level grows you’ll take fewer photos as you’ll have a better idea of how to get what you want.
6. Don’t over-Process
This is a trick one, my heart wants to say ‘be gentle when editing your photos’ but also ‘experiment and have fun with it’. As you are photographing on a phone and most likely editing a jpeg image then the further you push the photo in processing will rapidly degrade your image quality. Take a photo, process it heavily, save and then do a light process and save that. Compare the two and you’ll see which processing style works best for you.
It’s all personal taste really and mine is that I like my landscapes to be natural looking and for the photograph to be the focus, not the processing done after the fact. Learning is all about experimenting so do that, have fun with it, don’t be scared of it and you’ll get closer to the image you see in your minds eye. My next blog post will be on editing your phone photos with apps so if you’re new to this then that will help a lot.

If you made it this far in, Thanks very much for visiting my blog and I really hope even just one tip sticks with you and helps you improve your own photos whether you are using a phone or camera. The most important things are to take plenty of photos and have fun with it, send me your photos on Facebook, twitter or instagram if you found these tips useful and have a great week guys.
Back soon with more, stay tuned and get out there with your phone.
Conor